


Until recently not much thought has been given to what a liability waiver should look like or how the entire waiver signing process affects the participant’s perception of a business. A waiver has typically been nothing more than a xeroxed piece of paper attached to a worn, wooden clipboard and handed to a customer when they checked in. Beyond distinct legal language, there was really nothing unique about a company’s waiver.
Digital waivers change all of that. With Smartwaiver you can customize the waiver signing experience to match your brand – not only on your website, but at your location from a kiosk as well. Thanks to Smartwaiver wizardry, the legal language on your waiver can remain the same but the waiver itself can look so much nicer now.
Below are four simple ways to make your digital waivers more visually appealing and representative of your brand.
1. Add Custom Colors
Your waiver doesn’t have to be black and white anymore. Choose colors and fonts that match your website/business and make your digital waiver pop.
Example: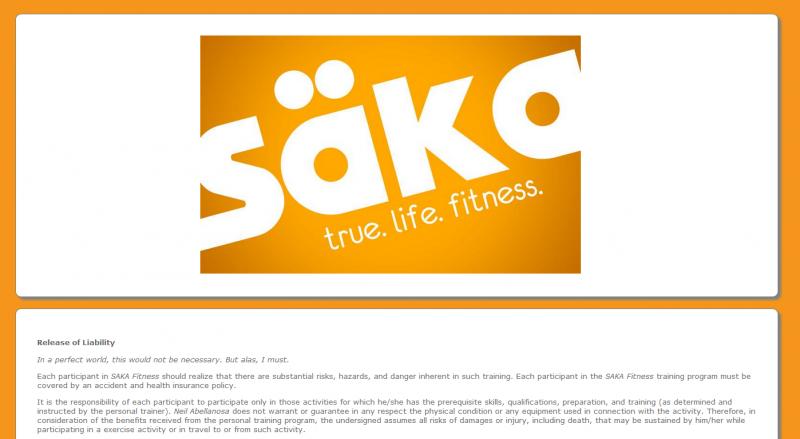
2. Add Your Logo
Your logo defines your brand and gives customers a visual representation of your business. Display it proudly in the header of your waiver in all its colorful glory.
Example: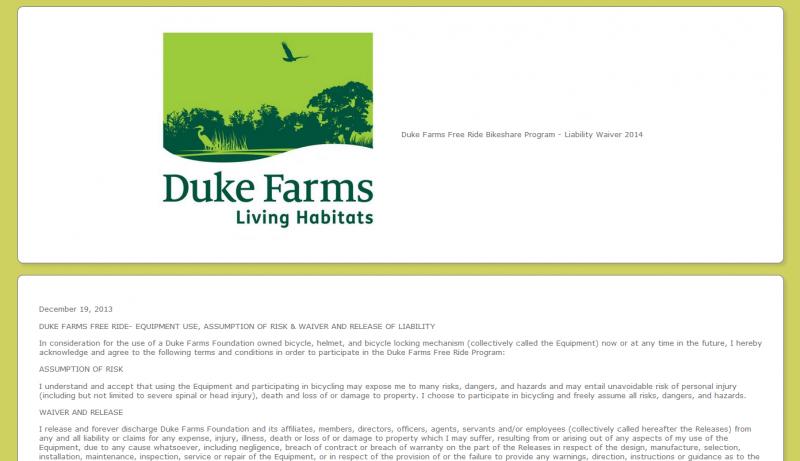
3. Add a Video
If you need customers to watch a safety or instructional video before participating in your activity, you can make the video part of the waiver signing process.
Contact Support for more information.
4. Add a Custom Widget to Your Website
With a couple snippets of code you can place the Smartwaiver Waiver Widget on the bottom of your website so your customers never have to leave your site to complete the waiver.
Example:

.png)
.png)

.png)
.png)