Use Smartwaiver Offline!
No Internet? No problem. Offline waivers are here!
We recently released an update to the Smartwaiver Kiosk app for iOS devices. This latest version is not only faster and more robust online, you can now take your Smartwaiver Kiosk offline too. If you have iOS version 10.3 or greater on your iPad you can install the updated app and use Smartwaiver - even when an internet connection is unavailable.
(For those that don't need offline capabilities, we strongly encourage you to grab the latest version as well.)
Start Using Offline Waivers
Install the latest version of the Smartwaiver Kiosk app for iOS and follow the steps below to start using offline waivers today!
Note: This latest release requires iOS version 10.3 or greater. Before installing, be sure that your iPad is able to update to this version.
How to Set up Offline Waivers
After installing the latest version of the Kiosk app on your iPad, you’ll need to enable the offline feature from your account. If your iPad has already been registered with your Smartwaiver account, depending on your model, you may be asked to re-register your device.
- Log in to your Smartwaiver account from your desktop computer:
- Click on your Username --> Account Settings --> Manage Kiosks
- Click on the Kiosk name
- Click on the dropdown menu next to Offline Collection Limit. This is the maximum number of offline waivers you would like to collect on your device when an internet connection is not found. The default limit is set to: "No Offline Waivers". To enable the offline feature, simply toggle down to the number of offline waivers you'd like to temporarily store on your device.
- Next, create an Admin Passcode. This is a four digit code that the Smartwaiver Admin will use to access your offline waivers from your device.
- Launch your smart waiver from your iPad.
You’re all set! Your smart waiver will appear on your device as it did before, with two small additions:
You’ll now see:
- An online indicator on the lower left of the screen
- When the indicator is GREEN your device has an internet connection.
- When the indicator is RED your device is offline.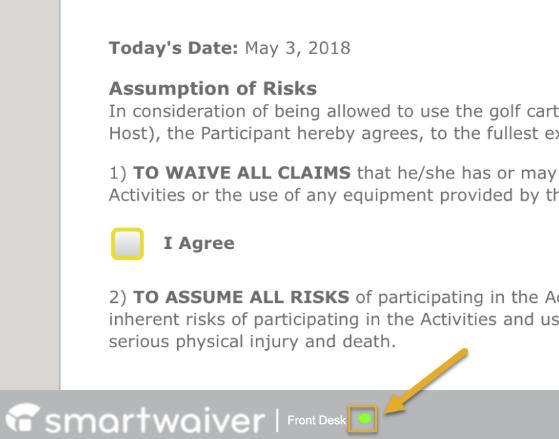
- A padlock icon on the lower right of the screen
Clicking on this icon will ask for the Admin Passcode you set up in Step 5 above.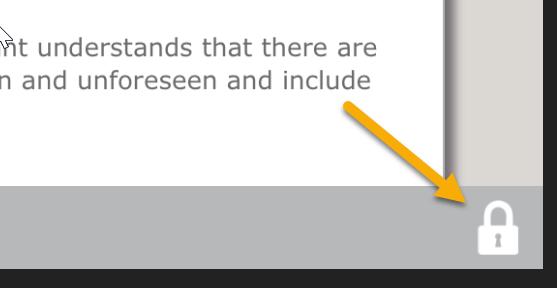
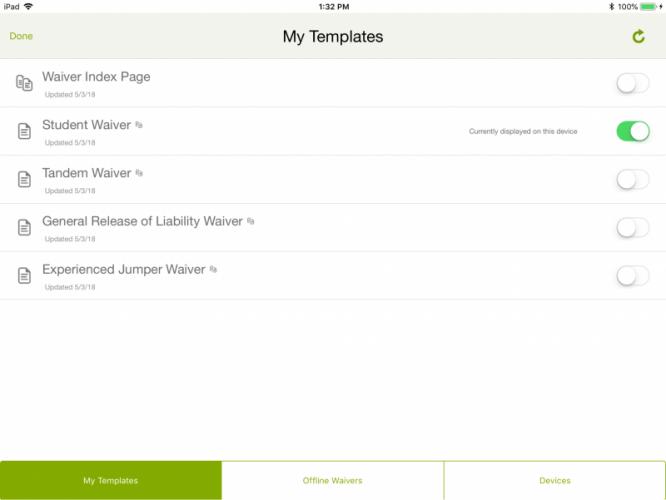
When the correct Admin Passcode is entered, you will see 3 tabs on the bottom of the screen:
1) My Templates Tab
Shows the waivers that can be displayed on your device.
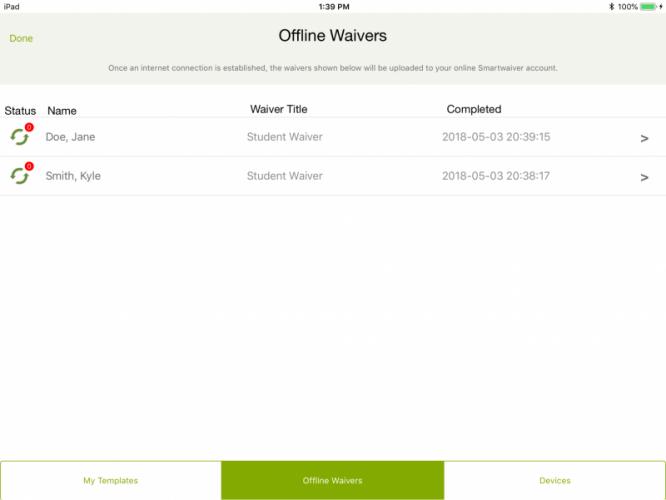
2) Offline Waivers Tab
Shows the participants that have signed your waiver on your device in offline mode. Any participant you see here has NOT been uploaded to your Smartwaiver account. Once an internet connection is established, these offline waivers will be instantly sent to your Smartwaiver account in the cloud and will appear in your Waiver Console.
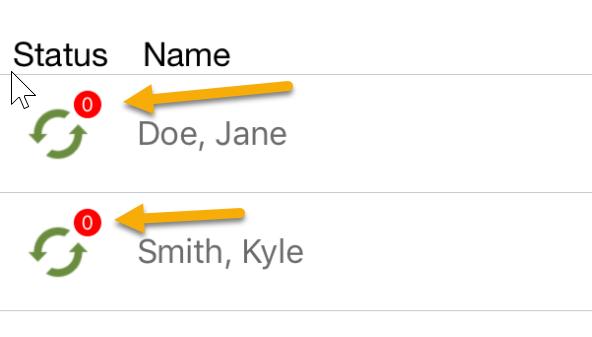
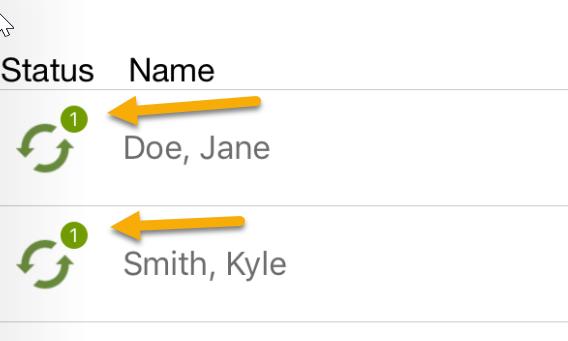
A red circle with a zero next to the sync icon indicates that the offline waiver has not been synced with another device and the waiver exists ONLY on this device.
A green circle with a number next to the sync icon indicates that the offline waiver has been synced with another device and the waiver has been copied.
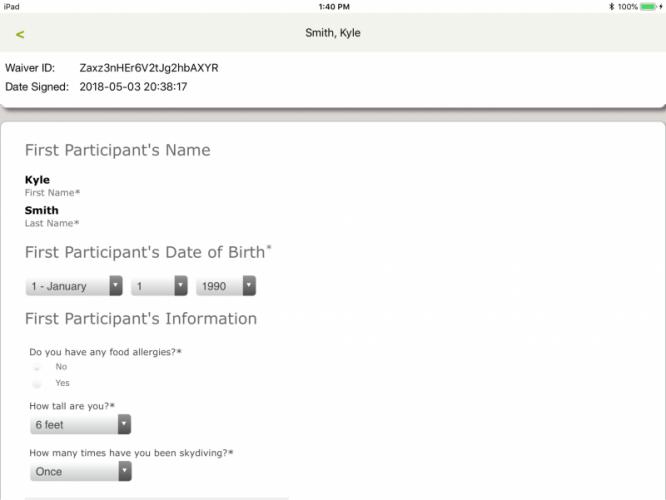
Tapping on the participant’s name will show the waiver that was signed.
3) Devices Tab
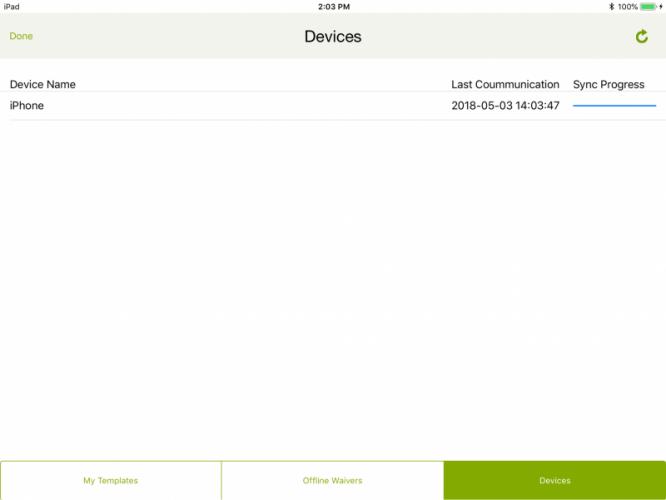
Setting up multiple Apple devices on your account (e.g. iPad → iPhone) will enable offline waivers to sync with each other using Apple’s WiFi Direct feature. This screen will show you the devices that are synced with your primary device.
We’re really excited about this Offline Mode feature. We know how important it is to keep the lines flowing when the internet goes down and that not all businesses operate in areas with reliable data connections.
Please let us know what you think.
For troubleshooting tips and an FAQ, please visit our Offline Mode Support Page.


